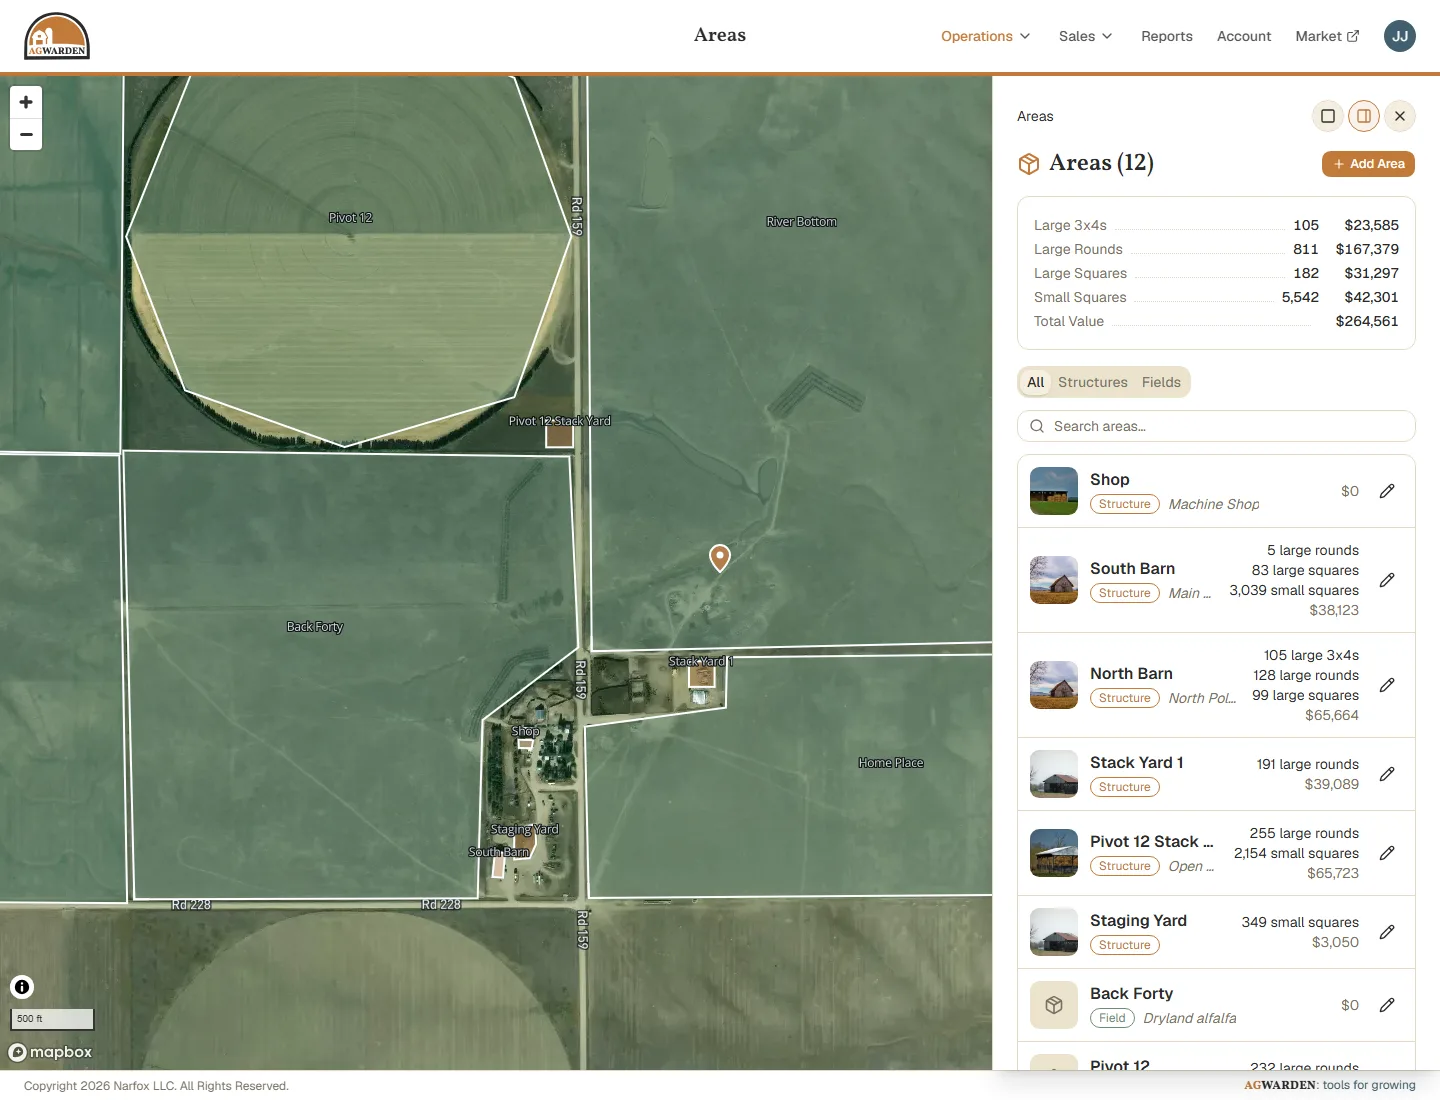
An Area is a place on your operation: a Field, where a crop is grown, or a Structure, a shed, yard, or warehouse where hay is stored. Every Lot of hay is harvested in a Field and stacked in an Area, so set up your Areas before your Lots. Each Area shows how much hay it holds and what it's worth, and its outline on the map.
Add an Area
- Open Operations → Areas and click Add Area.
- Enter its Area Title, like "North Barn" or "Pivot 12".
- Choose its Area Type: Structure for a shed, yard, or warehouse, or Field for where a crop is grown.
- Add a description if you like, and a photo: click the pencil on the picture.
- Draw its footprint on the map (below), then click Save Changes.
Draw its footprint
The footprint is the Area's outline on the map, so you and your crew can find it.
- Click Draw footprint.
- Click the map at each corner of the Area.
- Click Done drawing.
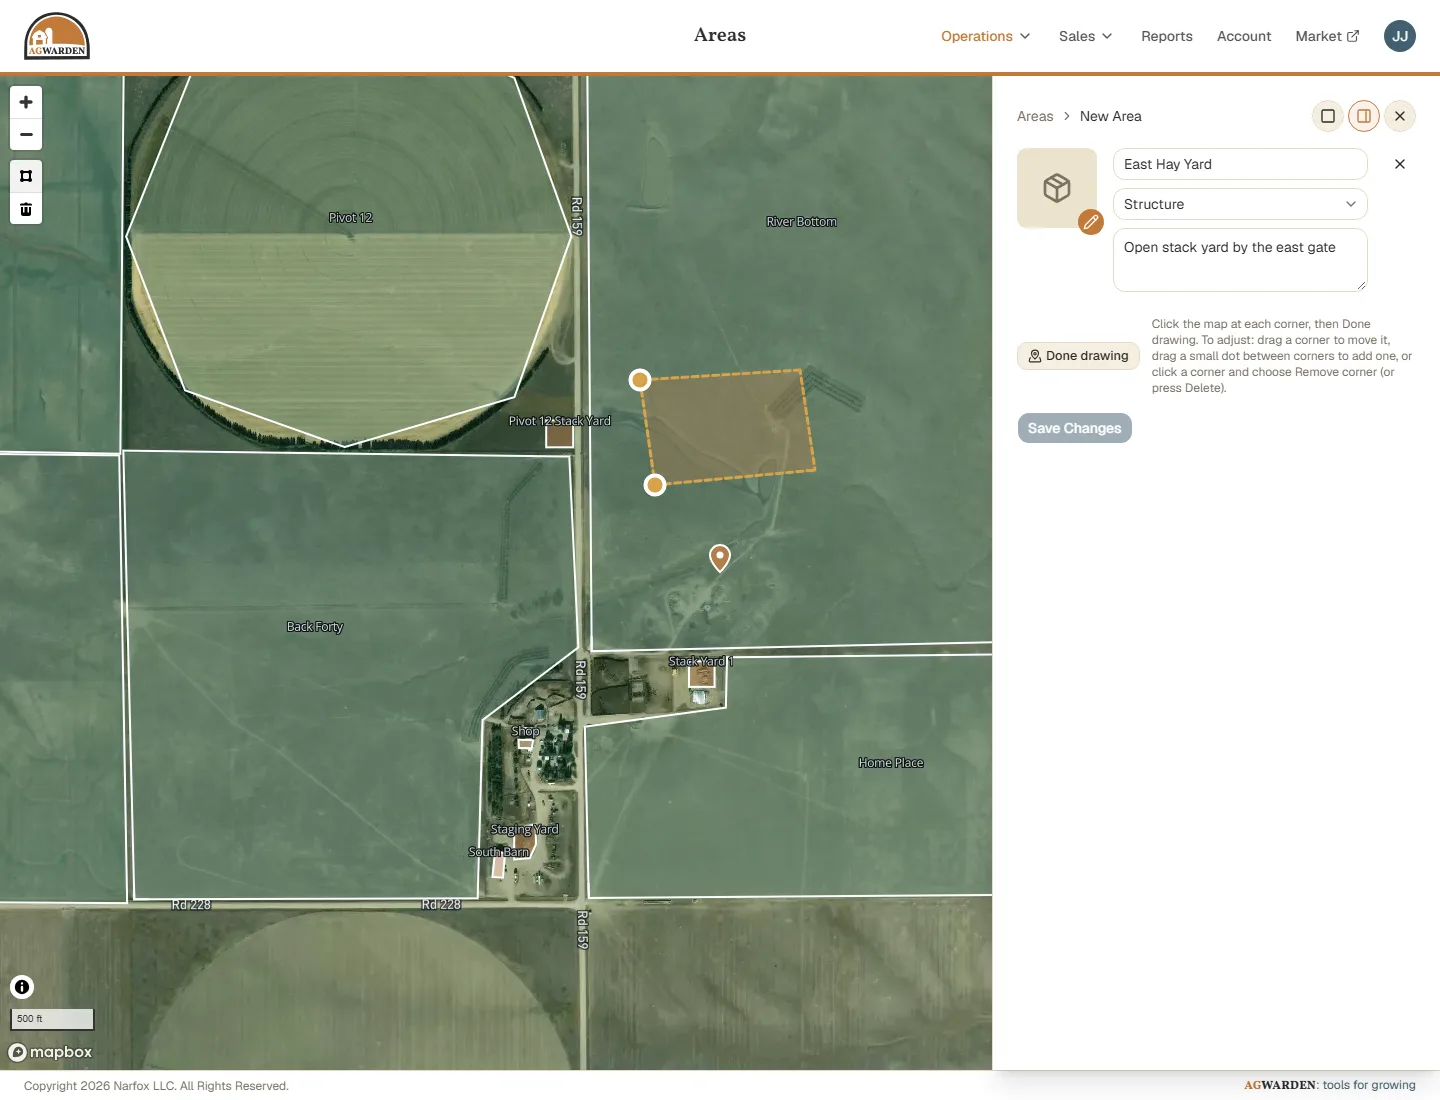
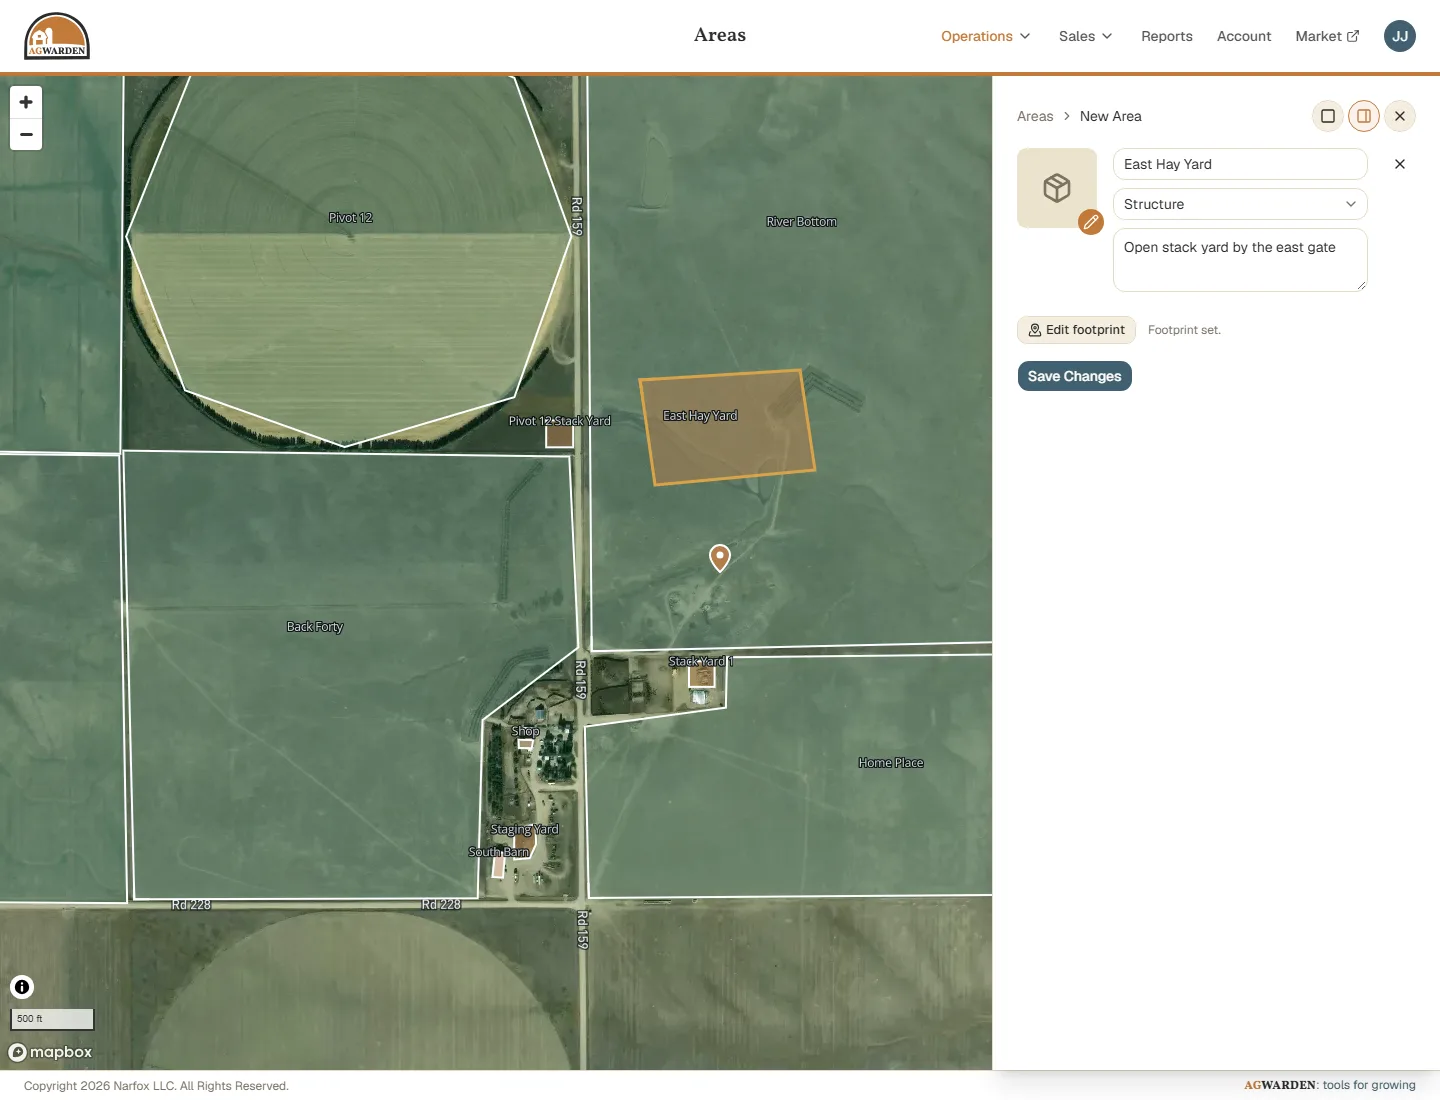
To adjust it, drag a corner to move it, drag the small dot between two corners to add a corner there, or click a corner and choose Remove corner (or press Delete). Once it's done, the outline shows on the map with the Area's name.
An Area's page
Click an Area in the list, or its outline on the map, to open it. You'll see what it holds by kind of bale, and its value, then its Stacks: the hay from each Lot that's in it. Click a Stack to open its Lot. Add Lot starts a new Lot already set to this Area.
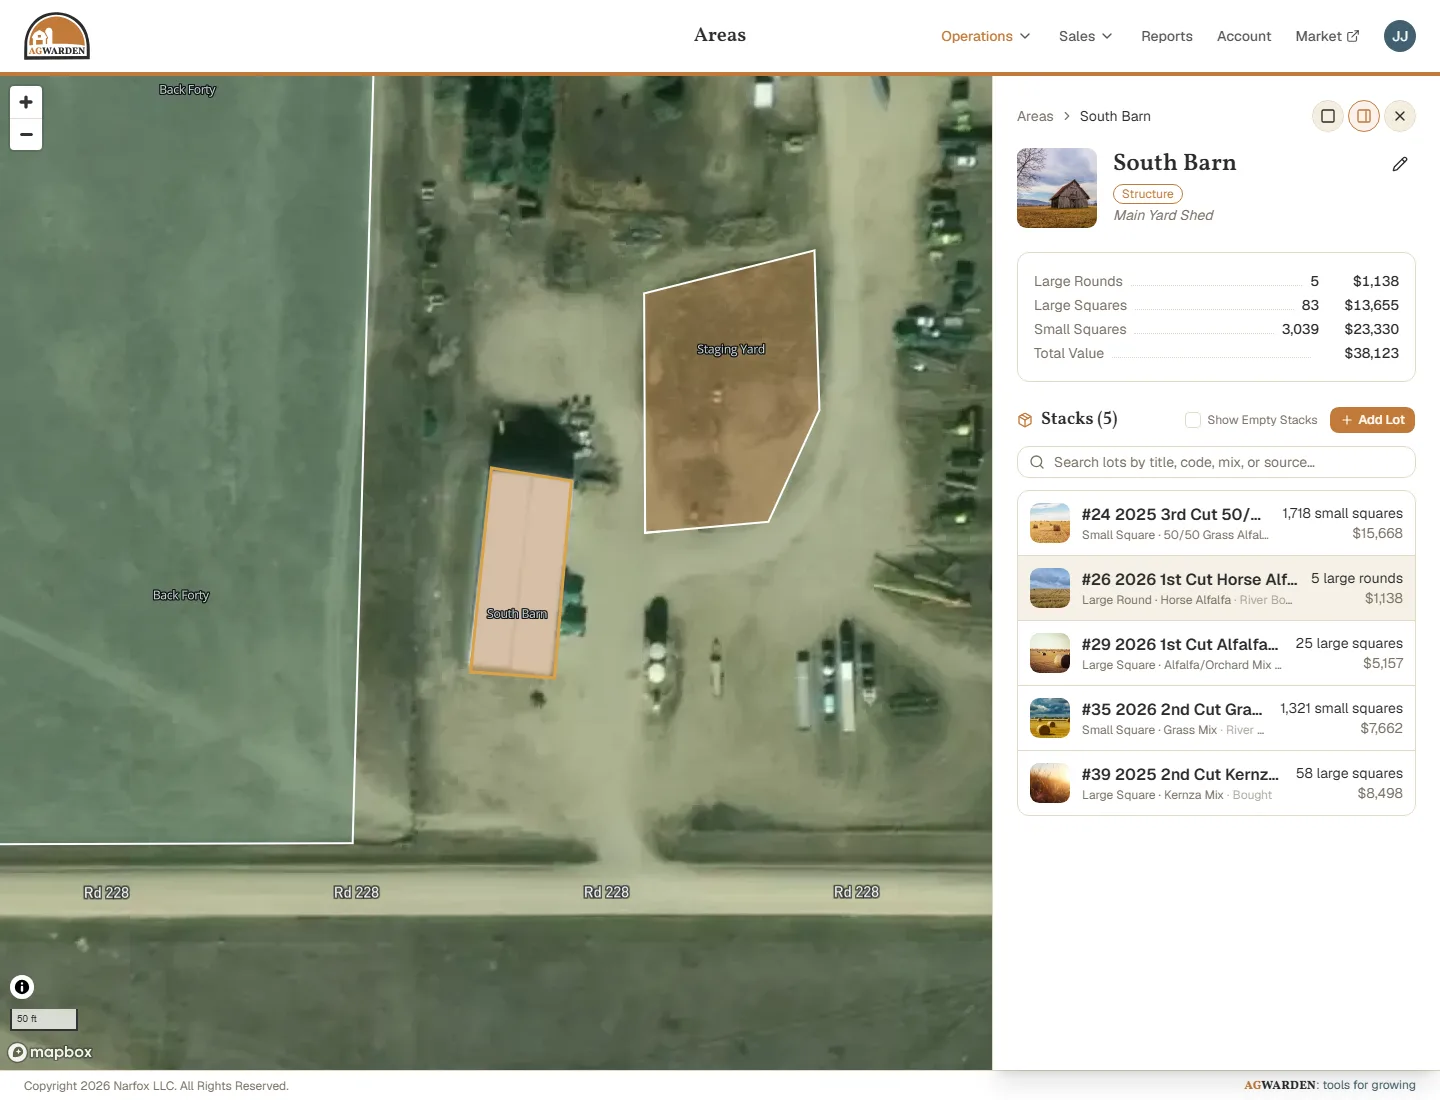
To change the Area's name, type, description, photo, or footprint, click the pencil at the top. An Area can't be deleted while it holds hay, or once it has any history, so your records stay complete.
Finding Areas
The tabs above the list show All Areas, just Structures, or just Fields, and the search box finds an Area by name. The totals at the top are always for your whole operation.
Next
Record the hay you harvest: Creating Lots.